Once your preparation is on track, the next practical question is how to register for TEF Canada — and getting the booking details right matters more than most candidates expect. Register for the wrong exam version, pick a date before you’re ready, or arrive without the right ID, and you can lose the full exam fee or months of your immigration timeline.
This guide walks through the entire process: where to register, what it costs, how to choose your date intelligently, and what happens on exam day.
Step 1: Confirm You Need TEF Canada — Not Plain TEF
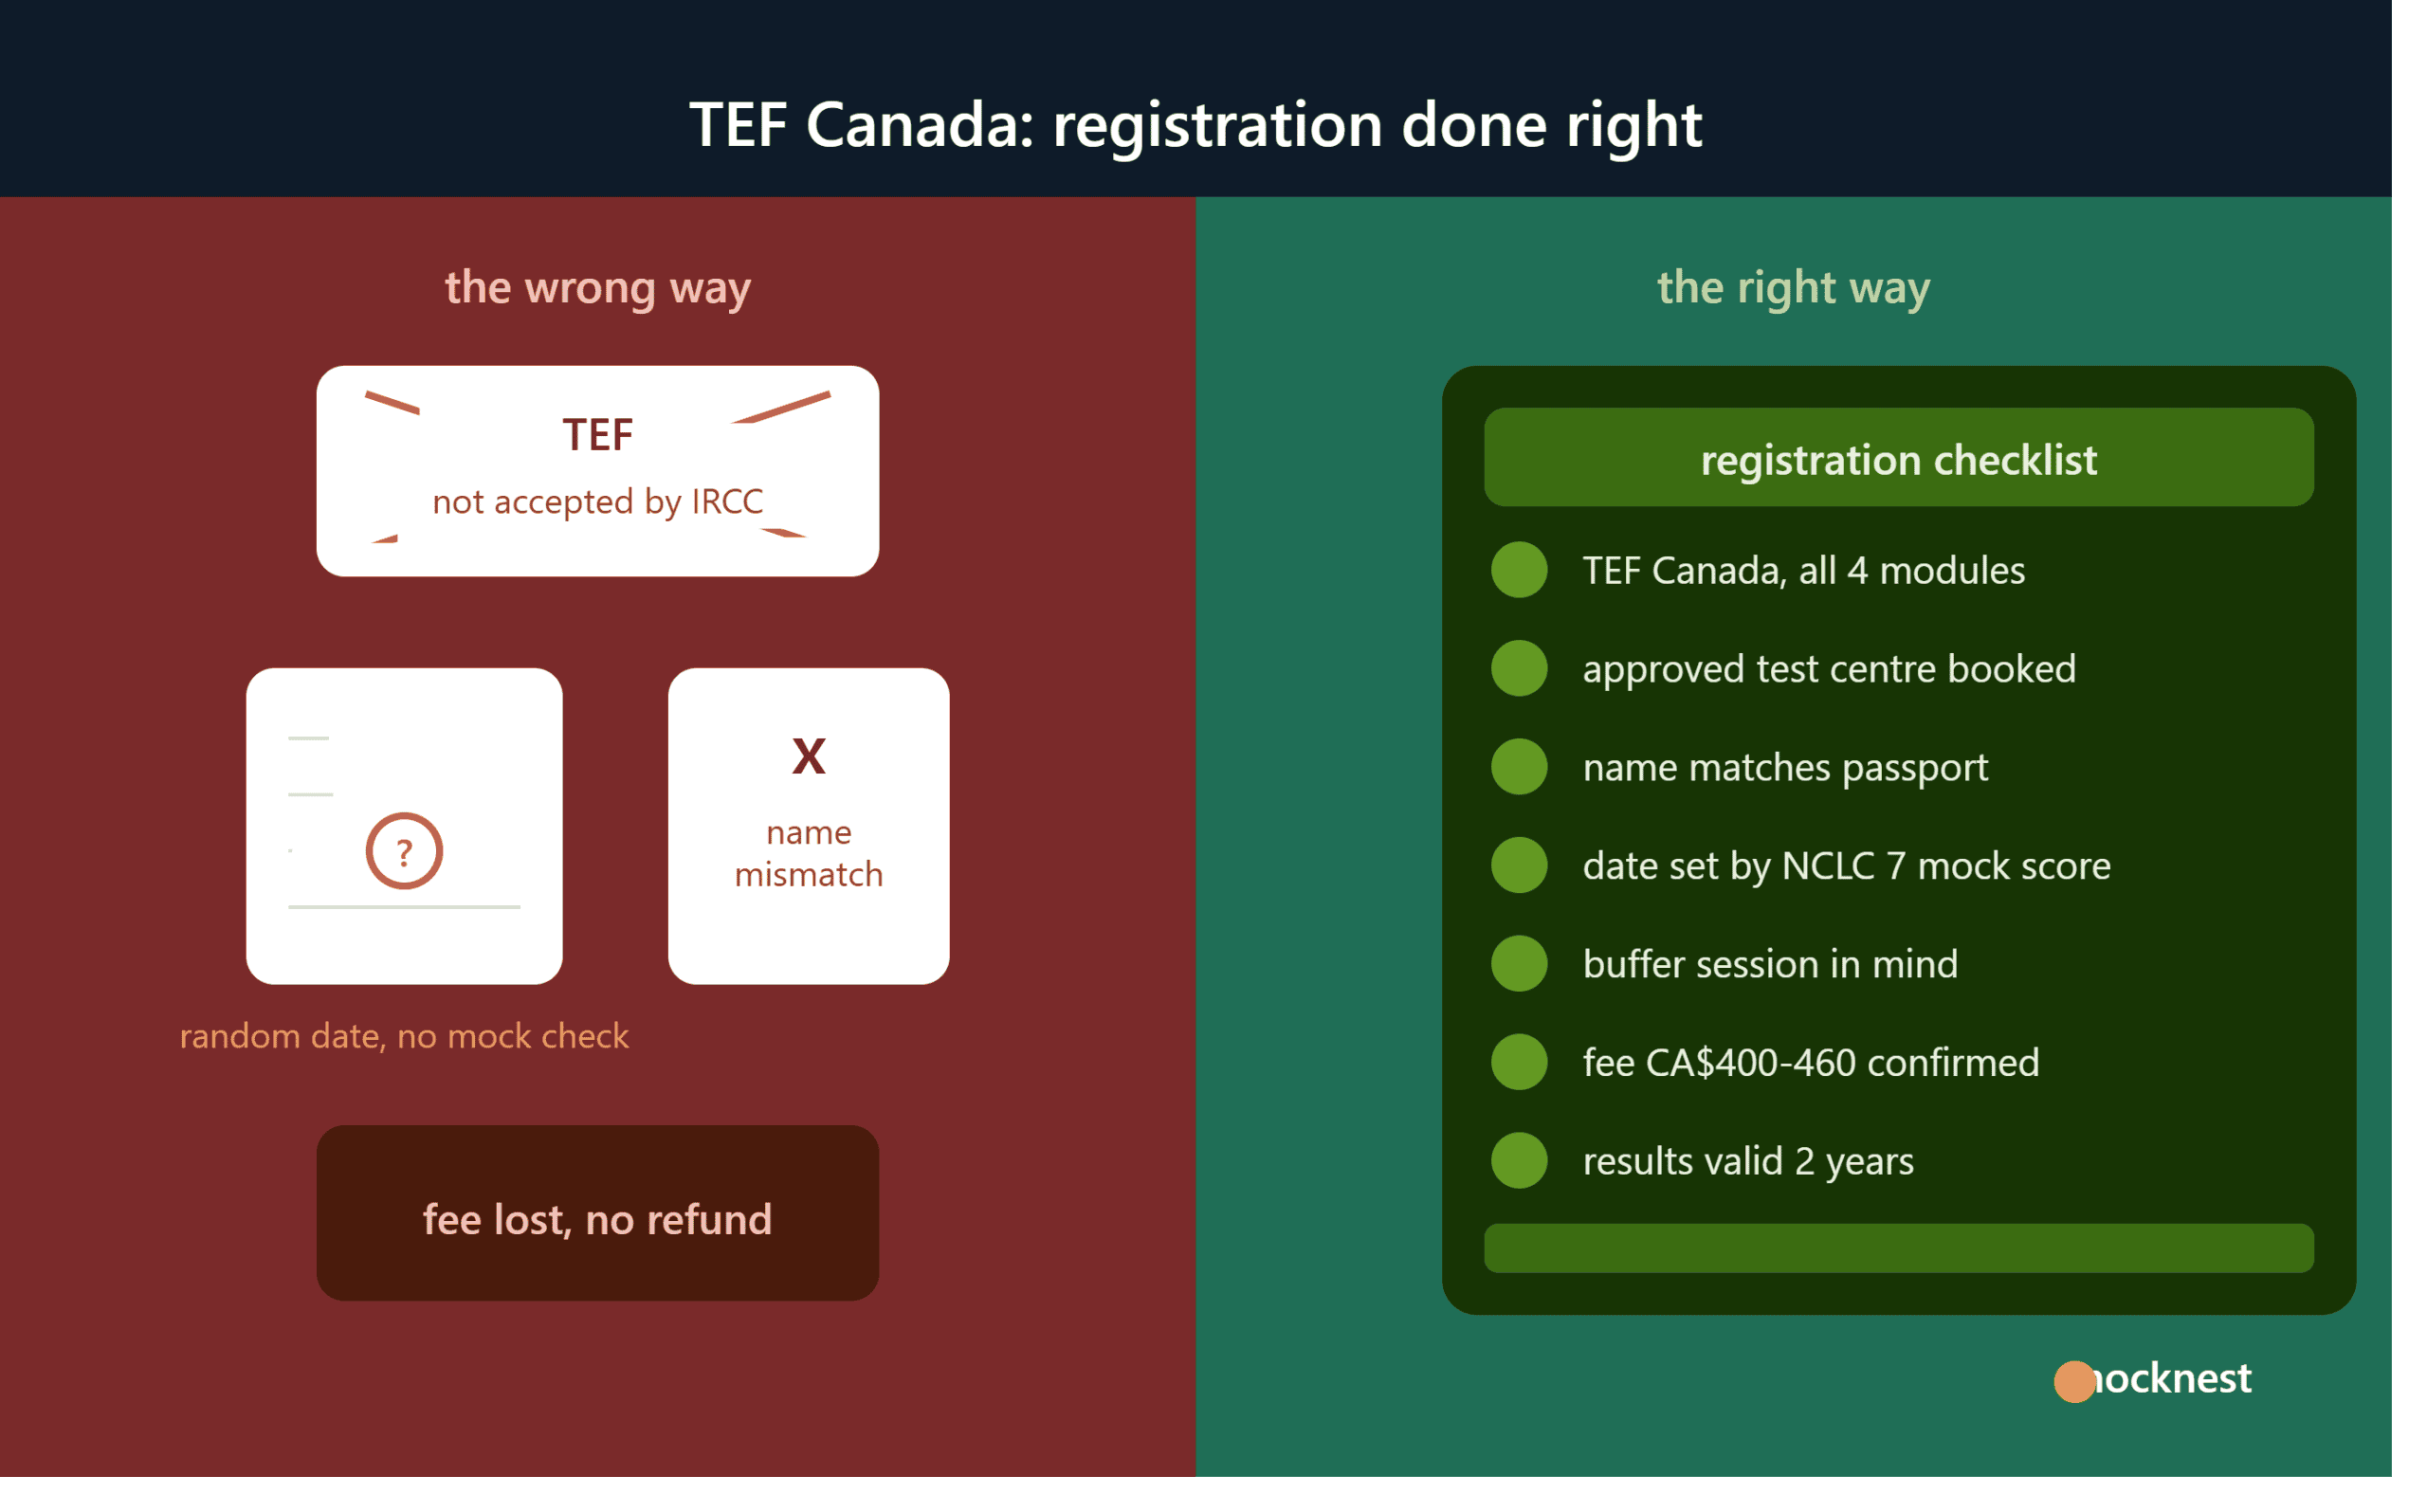
Before anything else, the warning that saves candidates the most money: IRCC only accepts the TEF Canada version of the exam. The same organization also runs plain TEF, TEF Québec (TEFAQ), and TEF Naturalisation — and a result from those versions, however excellent, cannot be used for Express Entry or citizenship. When you register, the exam name must say TEF Canada, and you must register for all four modules (listening, reading, writing, speaking) in one sitting.
If you’re still deciding between the two IRCC-accepted French exams, settle that first — our TEF Canada vs TCF Canada comparison shows how to choose using one mock test of each.
Step 2: Find an Approved Test Centre
TEF Canada is administered by the Paris Île-de-France Chamber of Commerce (Le français des affaires) through a network of approved test centres worldwide — Alliance Française branches are the most common hosts, alongside universities and language institutes. The official Le français des affaires website maintains the current centre directory; search it for your city or country.
Practical notes from candidates’ experience:
Not every centre offers every session. Smaller centres may run the exam only a few times per year.
Popular centres fill up weeks ahead — in high-demand regions, sometimes 1–2 months ahead. Check availability early even if you plan to book later.
Centres set their own registration process. Some take online bookings; others require email or in-person registration. Contact your chosen centre directly for their procedure and payment methods.
Step 3: Know the Cost
Fees are set by individual test centres, so prices vary by country and centre — typically in the CA$400–460 range in Canada, with international centres varying more widely in local currency. The fee covers all four modules in one sitting.
Budget for the possibility of a retake honestly: there’s no limit on attempts, but each attempt is a full fee and a full four-module sitting. This is exactly why the smartest money you spend is on preparation before booking — a full-length mock test costs a fraction of the exam fee and tells you whether you’re actually ready.
Step 4: Choose Your Date Strategically
The most common registration mistake isn’t procedural — it’s booking a date based on hope rather than evidence. The right way to pick your date:
Sit a diagnostic mock test now to find your current NCLC level per module.
Estimate your gap. Roughly: one NCLC level takes 6–10 weeks of consistent work at intermediate levels. Our 30-day study plan covers the final-sprint phase once you’re close.
Book the session that falls just after your mocks are projected to hit target — with one buffer session in mind at the same centre in case you need it.
Work backwards from your immigration deadline. Results take time (see Step 6), and if you might need a retake, you need two sessions plus two results periods before your Express Entry profile deadline.
The rule that ties it together: your timed mock scores hitting NCLC 7 in all four modules is your booking trigger — not the calendar.
Step 5: Register and Prepare Your Documents
When you register, you’ll provide personal details that must exactly match your ID — same spelling, same name order as your passport or accepted identity document. A mismatch between your registration and your ID can bar you from the exam room with no refund.
On exam day, bring the identity document you registered with (valid, original, with photo — a passport is the safe choice). Arrive early; late arrivals are typically refused entry. Leave phones, smartwatches, dictionaries, and notes outside the exam room — none are permitted.
The exam itself is computer-based for listening, reading, and writing; the speaking module is a live, recorded roleplay with an examiner. If the format is unfamiliar, our TEF Canada exam guide walks through every module, and the speaking test guide covers the roleplay scenarios that repeat most often.
Step 6: After the Exam — Results and Validity
Results are typically issued within a few weeks of your session (timelines vary by centre — ask yours when you register). Your attestation shows a score per module, which converts to NCLC levels — the numbers IRCC actually reads. Remember the threshold that matters for most candidates: NCLC 7 in all four modules unlocks the French-speaker CRS bonus and French-category draws, as covered in our guide to French Express Entry points.
Your results are valid for two years for Express Entry purposes, and they must still be valid on the day you submit your profile and receive your invitation — so if your immigration timeline is long, don’t test too early either.
The Registration Checklist
Before you pay, confirm every line:
Exam name says TEF Canada (not TEF, TEFAQ, or TEF Naturalisation)
- All four modules booked in one sitting
- Registration name matches your passport exactly
- Date chosen because your mock scores are on track — not hope
- A buffer session exists at your centre before your immigration deadline
- You know your centre’s results timeline and payment/cancellation policy
- Book the exam once, pass it once
Registration is the easy part; being ready on the date you booked is the whole game. Sit a full-length, timed mock test before you spend a dollar on registration — it tells you your NCLC level per module, sets your realistic exam date, and turns the CA$450 booking from a gamble into a formality. One exam fee, one sitting, one result you actually use: that’s the outcome the checklist above is built for.